How to Create a Mini Project with Electron.js
Create graphical applications for Desktop!

Electron (formerly known as Atom Shell) is a free and open-source software framework developed and maintained by OpenJS Foundation.
The framework is designed to create desktop applications using web technologies (mainly HTML, CSS and JavaScript, although other technologies such as front-end frameworks and WebAssembly are possible) that are rendered using a version of the browser engine Chromium and a back finish using the Node.js execution environment.
It also uses several APIs to enable features such as native integration with Node.js services and an inter-process communication module.
Electron was originally built for Atom and is the main GUI framework behind several open source projects, including Atom, GitHub Desktop, Light Table, Visual Studio Code, WordPress Desktop and Eclipse Theia.
Dependencies
Download directly from the website using the links below or use your operating system’s package manager.
Example of installing dependencies on Ubuntu:
sudo apt install nodejs npmCreating a basic Window
Let’s create the most basic example possible!
01. Create a folder and enter it:
mkdir myapp
cd myapp
02. Create a file named: package.json:
And insert the content below:
{
   "name": "My First Electron Project",
   "version": "1.0.0",
   "description": "A basic usage example!",
   "main": "main.js",
   "scripts": {
     "start": "electron."
   },
   "author": "Marcos Oliveira",
   "license": "GNU GPLv3"
}
This step can be replaced by the command:
npm initwith edits as you wish!
03. Install Electron to be added to your project:
npm install --save-dev electronNote that your
package.jsonhas been changed and added Electron support!
04. Create a file named: index.html
And insert the content below into the file:
<!DOCTYPE html>
<html>
   <head>
     <meta charset="UTF-8">
     <meta http-equiv="Content-Security-Policy" content="default-src 'self'; script-src 'self'">
     <title>My First Project with Electron</title>
   </head>
   <body>
     <h1>My First Project with Electron</h1>
     <h2>We are using the technologies (and versions):</h2>
     <ul>
       <li>Node.js: <span id="node-version"></span></li>
       <li>Chromium: <span id="chrome-version"></span></li>
       <li>Electron: <span id="electron-version"></span></li>
     </ul>
   </body>
</html>
05. Create a file named: main.js
And insert the content below into the file:
In the example below, a window with a resolution of 1280x720 is created.
const { app, BrowserWindow } = require('electron')
const path = require('node:path')

function createWindow() {
   const win = new BrowserWindow({
     width: 1280,
     height: 720,
     autoHideMenuBar: true, // Hide the Menu Bar: File, ...
     webPreferences: {
       preload: path.join(__dirname, 'preload.js')
     }
   })

   win.loadFile('index.html')
}

app.whenReady().then(() => {
   createWindow()

   app.on('activate', () => {
     if (BrowserWindow.getAllWindows().length === 0) {
       createWindow()
     }
   })
})

app.on('window-all-closed', () => {
   if (process.platform !== 'darwin') {
     app.quit()
   }
})
06. Create the preload.js file
And insert the content below into the file:
window.addEventListener('DOMContentLoaded', () => {
   const replaceText = (selector, text) => {
     const element = document.getElementById(selector)
     if (element) element.innerText = text
   }

   for (const type of ['chrome', 'node', 'electron']) {
     replaceText(`${type}-version`, process.versions[type])
   }
})
07. Now just run the project
When you open the window you can even access the console with: Ctrl + Shift + i.
npm startExample of the App we created running in the image below:
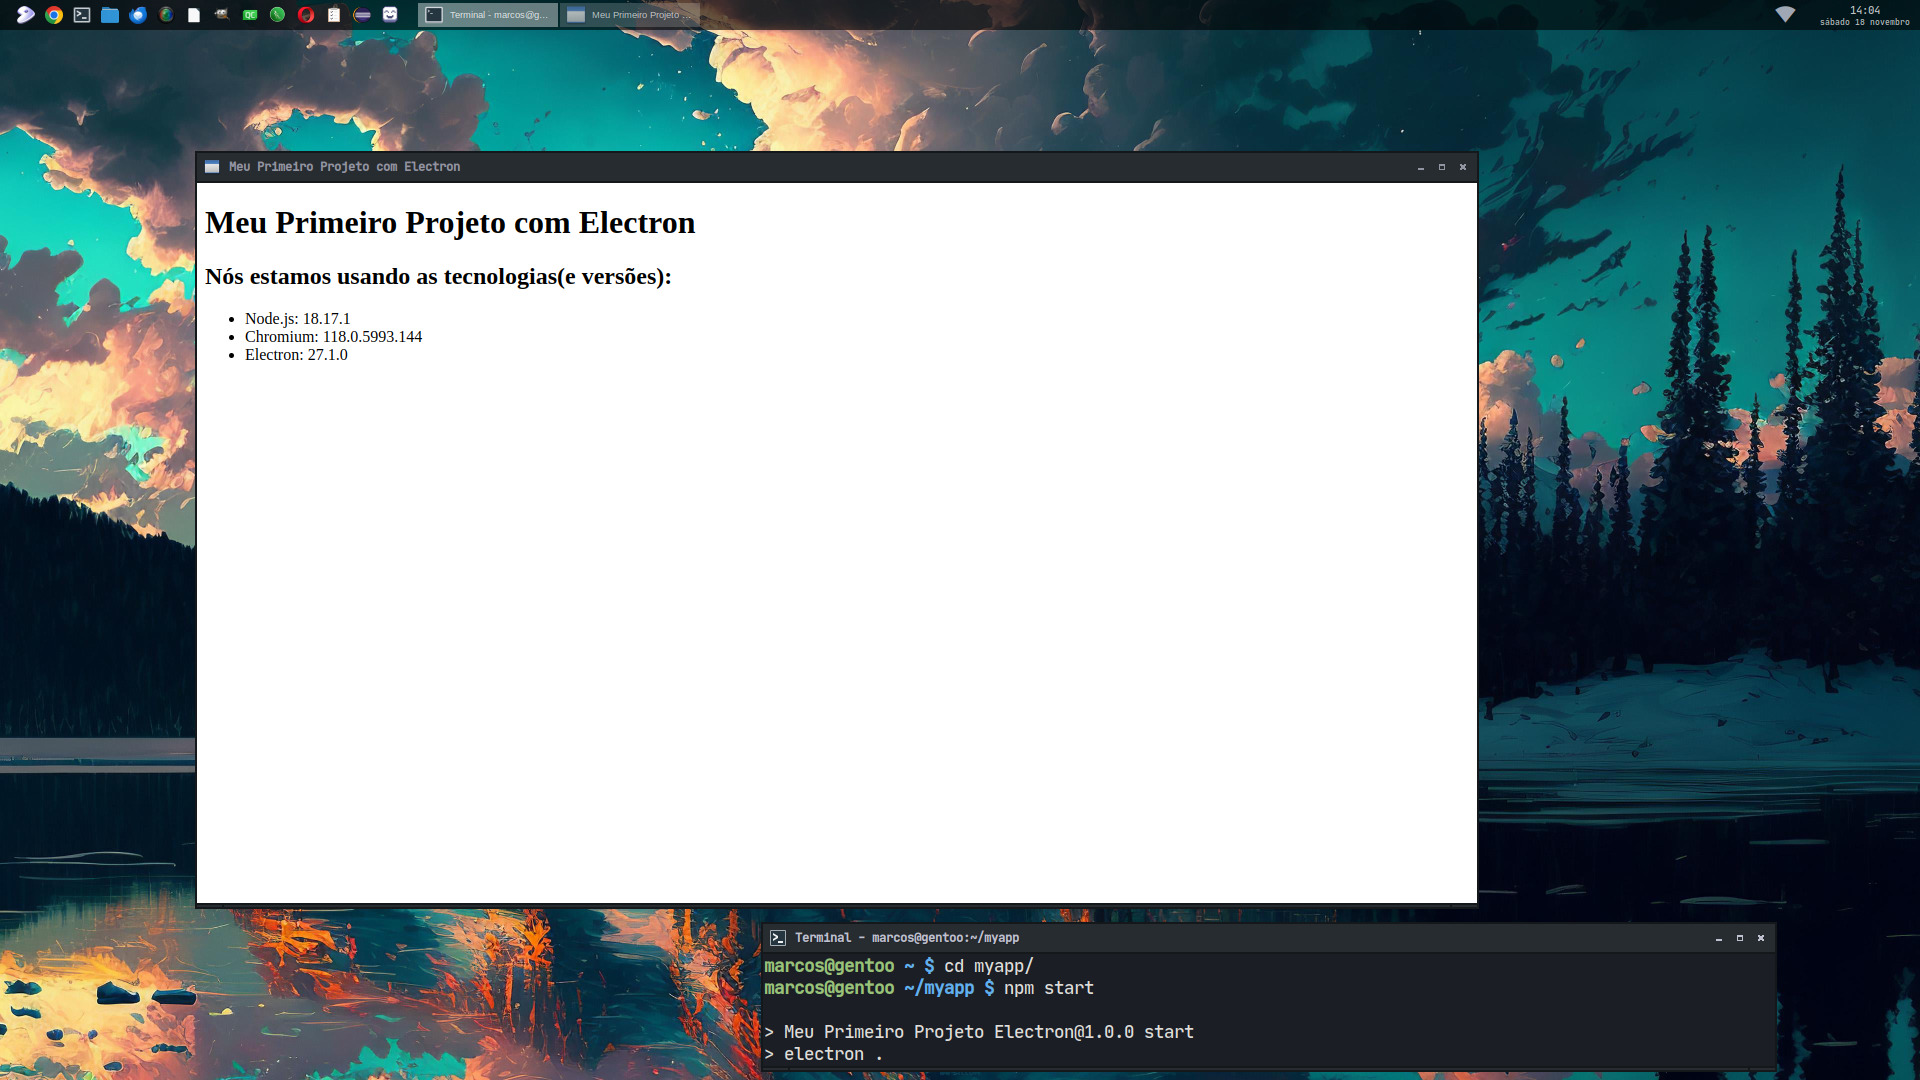
Click on the image to see in a higher resolution!
For more information access:
Comments