Ultimate Guide to GNU Emacs for Beginners
Commands, Shortcuts, Auto-complete, Syntax Highlight, Ready Settings and more!

GNU Emacs, or just Emacs, is a text editor, used by programmers and users who need to develop technical documents, on different operating systems. The first version of Emacs was written in 1976 by Richard Stallman.
Emacs is based on Lisp, specifically a dialect of Lisp called Emacs Lisp. This allows it to become configurable to the point of becoming a kind of Swiss Army knife for writers, analysts and programmers.
Some features available in Emacs:
- Syntax highlighting for multiple languages
- Accepts configurations for shell commands (the EShell)
- Programmable in Emacs Lisp
In this article we will see how to install, use and configure GNU Emacs!
Installation
GNU Emacs is available for any operating system, including: Windows, macOS , GNU/Linux, BSD, Haiku and among others!
To install, you can do direct download from the official GNU Emacs page or use your operating system’s package manager.
Installation example on Ubuntu:
sudo apt install emacsProbably after installing it will ask about the Configuration Type for the Email Server, you can select No configuration.
Once properly installed, you can search for the program via your system dashboard, or start it via the command line through the terminal, in addition to obtaining information, for example:
emacs --version
emacs --help
Usage
After opening it, either by running the emacs command in the terminal or graphically, this will be the editor’s initial screen:
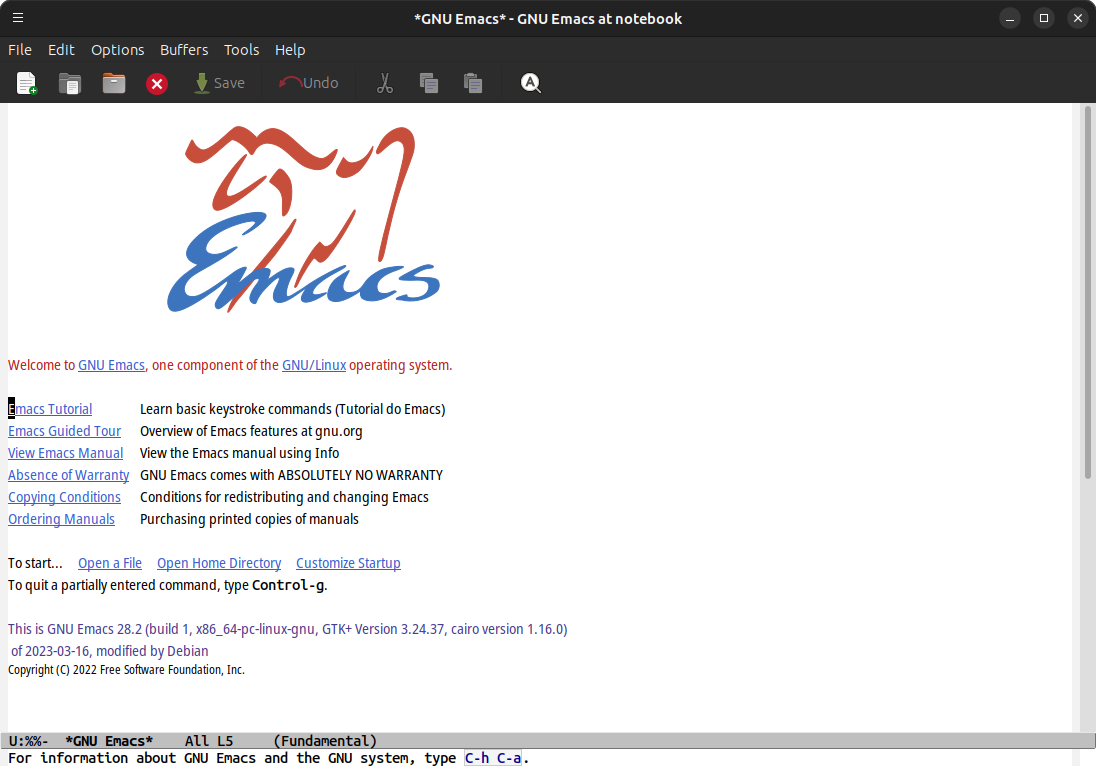
On this screen you can see links that, when clicked, will open a page in Emacs itself to clarify what was clicked. For example, if you click on the link Welcome to GNU Emacs the link page will open in Emacs itself, that is, it is also a Browser! 😊
To close the links you selected, simply click the icon: ⨂ in the toolbar. In fact, the icons (which are shortcuts) in this bar have an alt/title that when hovering over them will describe what they do as well as a tip on how to use them with commands.
That’s where (commands) we’re going!
GNU Emacs commands
An important thing is also that there is the TUI version of Emacs. In other words, you don’t necessarily need to use it graphically, despite it being easier and more intuitive. However, it is possible to use it directly through the terminal!
And to make this topic cooler, let’s open it in the terminal with the command:
emacs --no-window-systemOr just:
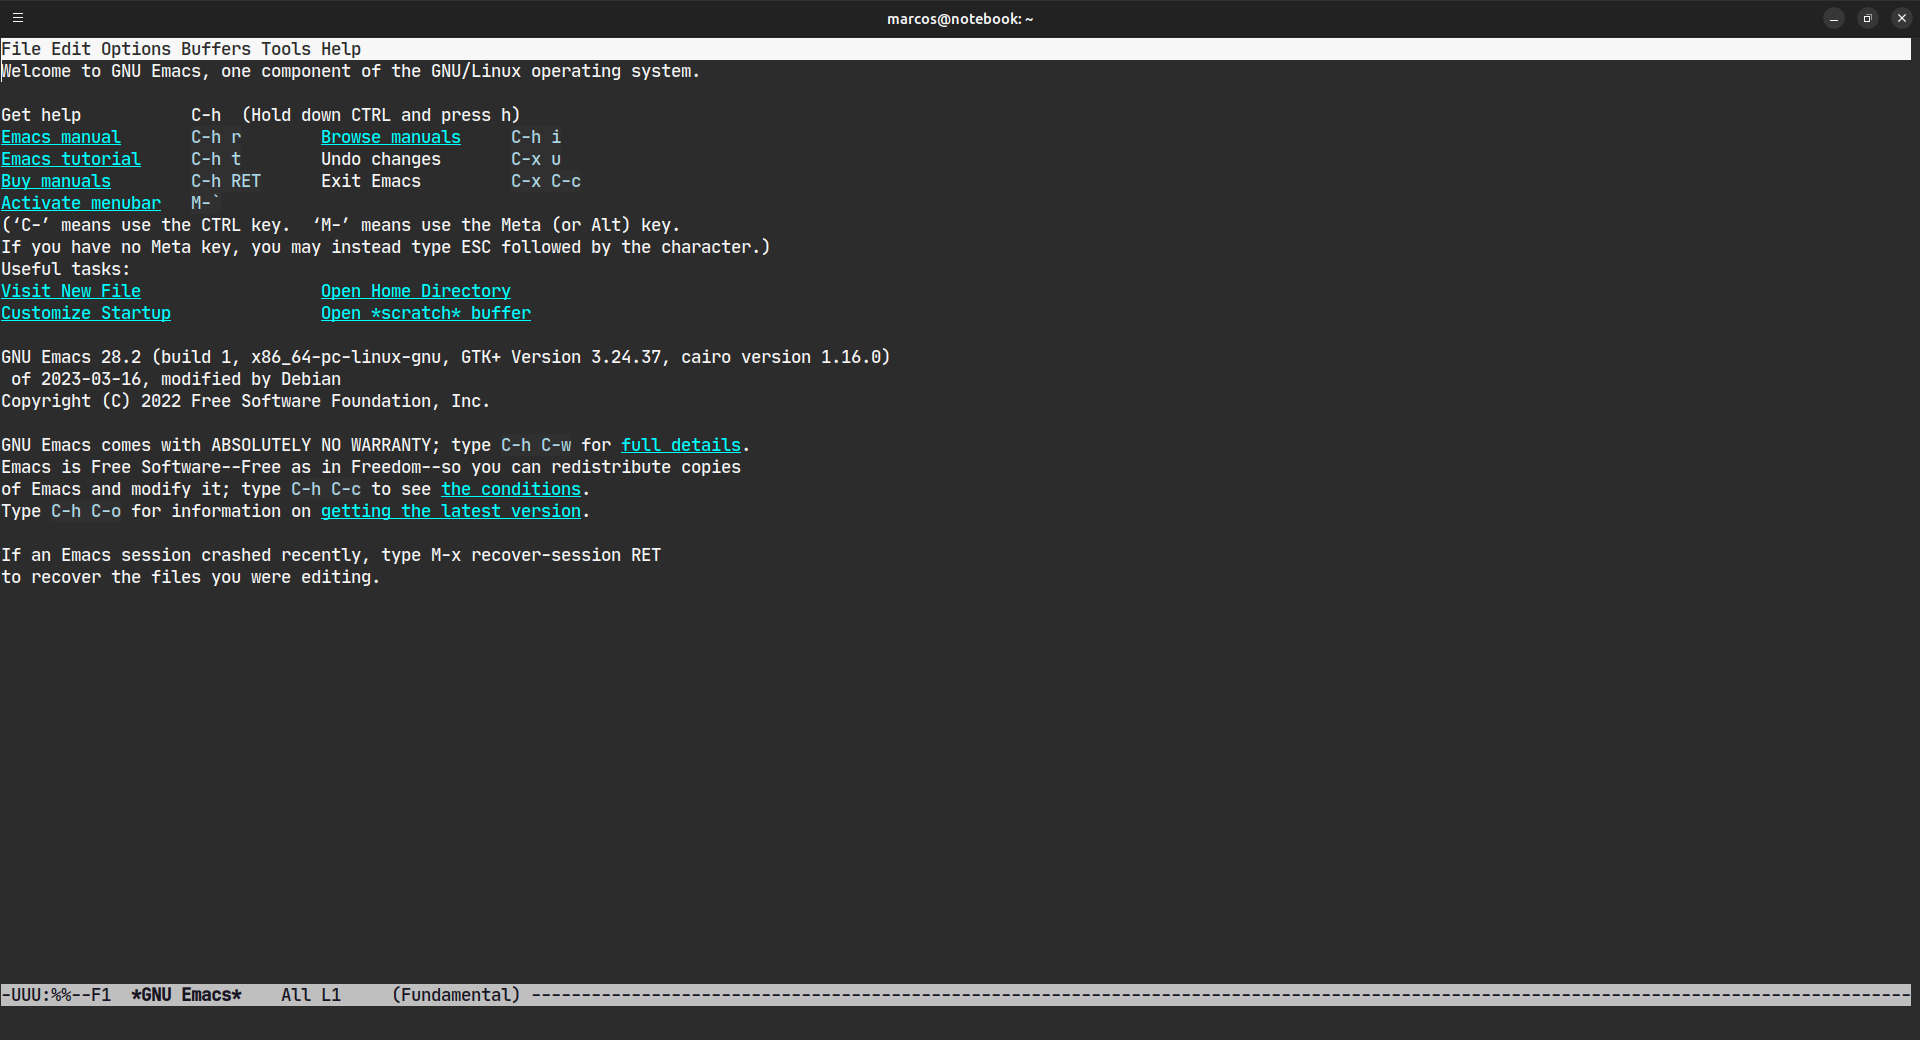
emacs -nw. The home screen will be the same as in graphical mode, but with a TUI look!
You can also open it through the terminal and define the file(s) you want to edit, for example:
emacs --no-window-system file.md
emacs -nw file.md main.cpp
If there are multiple files, it will automatically split the screen, for example:
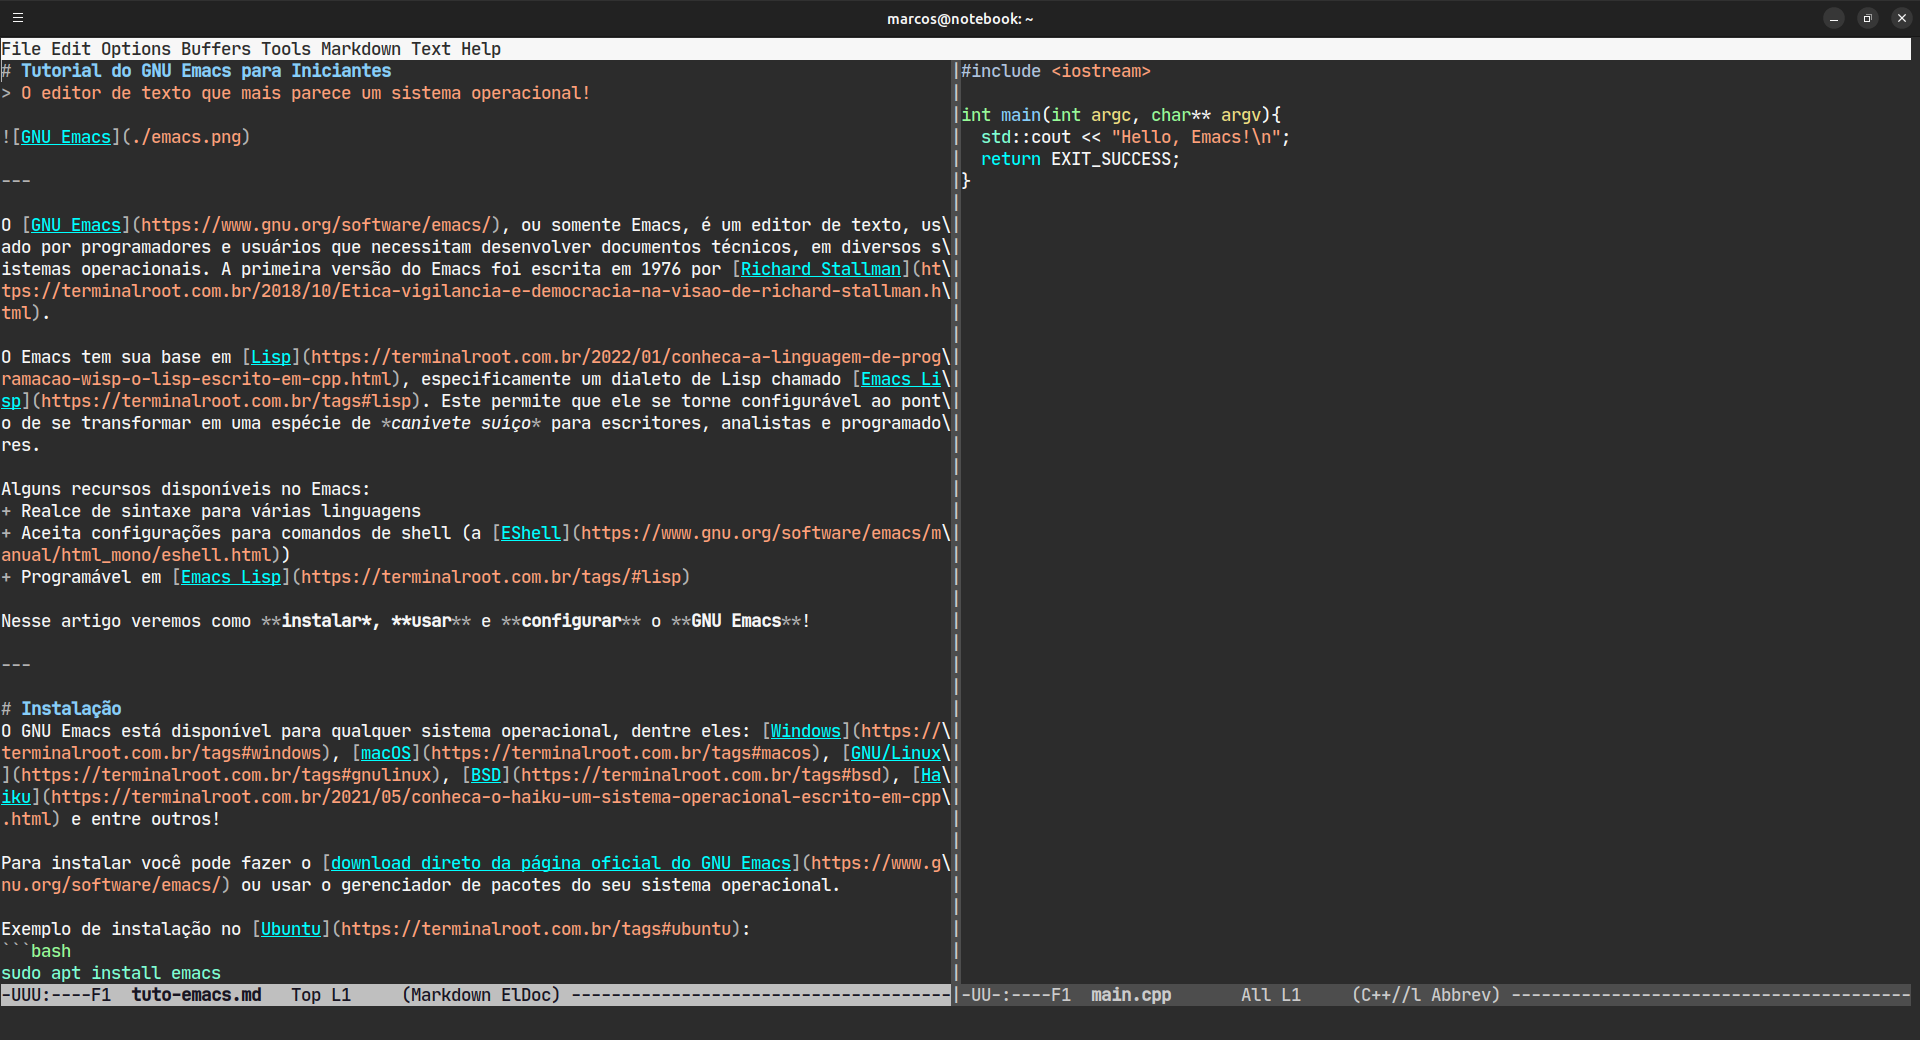
Note that I am creating this article with GNU Emacs(raw) via the terminal. Also note that my Markdown file has Syntax Highlight, most likely yours won’t have it, but in the configuration topic I show how to achieve this.
Quick Keys
C-x o→ Means:Ctrl + xand then presso→ Changes between open files, if there is more than one open;C-x C-s→ Save a file;C-x C-c→ Exit, but if you didn’t save before, a message will appear in the footer asking if you want to save:Save file /home/user/file.txt? (y, n, !, ., q, C-r, C-f, d or C-h), if you want, pressyto exit and save;M-<→ Moves the cursor to the beginning of the file. Remembering that the letterMmeans the Meta key and it can be eitherAltorEsc, as we are in the terminal,Escis recommended, that is, press:Escand then the character<;M->→ The cursor stops at the end of the file;C-a→ Moves the cursor to the beginning of the line;C-e→ Moves the cursor to the end of the line;M-u=Alt + u=Esc u→ Converts a sentence to UPPERCASE, but first you need to position the cursor before the word you want to convert;M-l=Alt + l=Esc l→ Converts a sentence to lowercase, but first you need to position the cursor before the word you want to convert;C-<space>→ Starts selection mode, with the directional keys you choose the selection direction. If you want to select until the end of the line, press:C-e;M-w, or more preferable especially if you are in the terminal:Esc w→ Copies the post-selected text;C-y→ Paste the post-copied text in the desired location/line;C-k→ Deletes a line (if the cursor is at the beginning of the line) or part of a line depending on the cursor position;C-x u→ Undo an operation;C-g→ Redo an operation, but first it exits the mode and then you need to pressC-x u;M-x replace-stringand then press ENTER → Replaces all occurrences of one word with another. However, it is necessary to position the cursor at the beginning of the file:Esc <and then pressM-x replace-string, remembering that Emacs has auto-complete in this section, to do this simply press TAB. A box will open in the footer for you to enter the word you want to find to replace:Replace string:enter the word. After this, a new box will now open for you to enter the new term to insert in the replacement:Replace string X with:, after typing the word you want, just press ENTER and all occurrences will be replaced!C-s→ Search for words in the file.
You can see that there are several commands and shortcuts, so reading the documentation that appears on the home page is interesting, but most of them you will learn little by little!
Settings
Emacs configuration files are located in the root directory of your home folder. It can be in a direct file:
~/.emacsOr inside a directory also in the root of the home folder, but in the init.el file:
~/.emacs.d/init.elLet’s adopt ~/.emacs directly in this example, as it is simpler.
Install and Enable Syntax Hightlight for Markdown
Open this file:
emacs -nw ~/.emacsAnd we will use the Emacs package manager: package.el to install markdown-mode, paste the content below:
;; Adds the MELPA repository
(requires 'package)
(add-to-list 'package-archives'("melpa" . "https://melpa.org/packages/") t)
(package-initialize)

;; Install markdown-mode
(unless (package-installed-p 'markdown-mode)
   (package-refresh-contents)
   (package-install 'markdown-mode))
Now save the file C-x C-s and exit it: C-x C-c.
Most likely when you open this file again in Emacs, you will notice that it has been modified with additional information made by package.el itself
Open a Markdown file in Emacs and markdown-mode will be activated automatically and will already have syntax highlight activated. If it doesn’t, you can force it to activate using the following command: M-x markdown-mode.
Add Auto-complete for C++
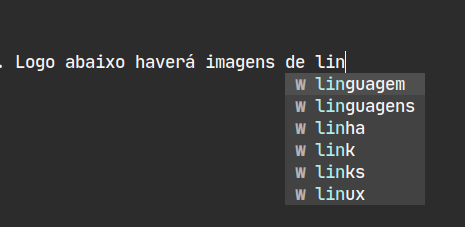
You can add auto-complete for any programming language, however we will see this example that works for C++, but if you type words from the buffer in any file, note that what we will add, install and enable here will be used for several cases including auto-complete (with TAB) for Markdown type files!
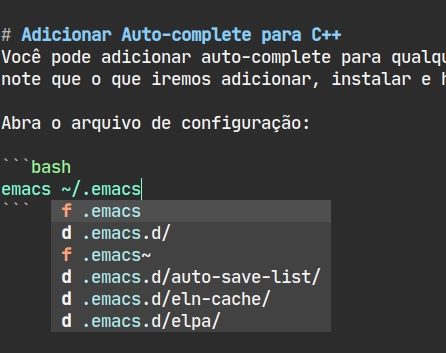
Open the configuration file:
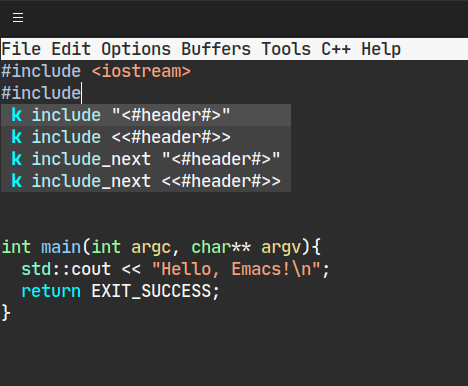
emacs ~/.emacsAnd paste the content below, in the lines there are comments starting with ;;. Below there will be images of specific lines:
;; START C++ AUTO COMPLETE
;; Install the 'company' package
(unless (package-installed-p 'company)
   (package-refresh-contents)
   (package-install 'company))

;; Install the 'irony' and 'company-irony' packages
(unless (package-installed-p 'irony)
   (package-install 'irony))
(unless (package-installed-p 'company-irony)
   (package-install 'company-irony))

;; Configures 'company-mode' and 'irony-mode'
(eval-after-load 'company
   '(add-to-list 'company-backends 'company-irony))

;; Enables 'company-mode' and 'irony-mode' globally
(add-hook 'after-init-hook 'global-company-mode)
(add-hook 'c++-mode-hook 'irony-mode)
;; FINAL C++ AUTO COMPLETE
Now save and exit and open a file C++ or any other file and test the auto-complete!
Example images:
If Warnings of configuration failure appear, it may be that the version of your package.el is out of date, but you can ignore these vertical windows that will open, running Emacs with the --debug-init parameter, for example :
emacs -nw --debug-init main.cppThere are several additional resources including snippets, at the end of this article I will leave useful links!
Settings ready!
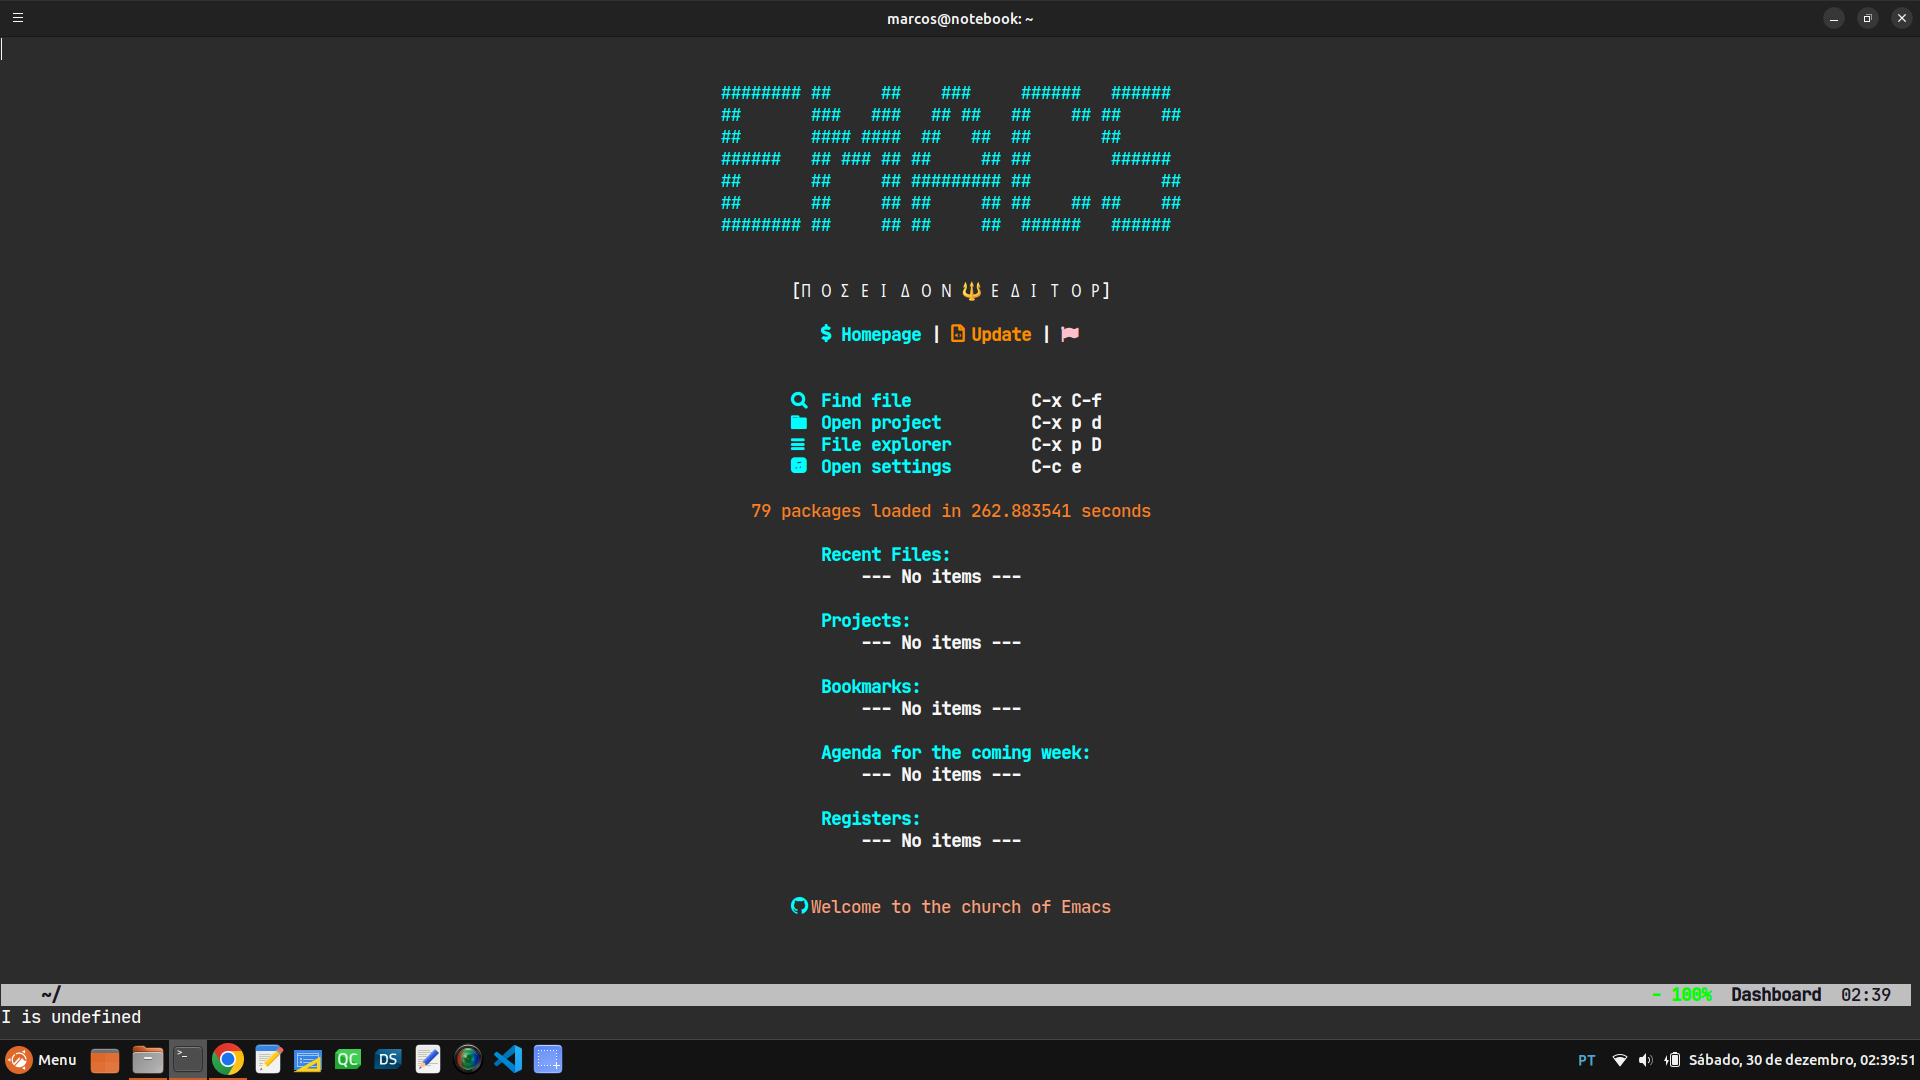
There are several configurations ready for you to use in your GNU Emacs. There’s a really cool one from GitHub user: Likhon-baRoy(The caller image of this article) that you can automatically customize:
1st. Back up your settings
cp ~/.emacs BKP-emacs2nd. Then remove all configuration directories
rm -rf ~/.emacs*3.° Clone the repository with Git
cd ~
git clone https://github.com/Likhon-baRoy/.emacs.d
Then just open Emacs, preferably in terminal mode, and wait for it to install and enable all plugins. During opening, follow the installations in the footer, it will ask for confirmation to update the plugins, press y to accept and then the initial screen similar to the image below will appear:
For more information, visit the GitHub repository.
Conclusion
This GUIDE as mentioned is intended for BEGINNERS and I tried to share everything I learned when I started with GNU Emacs.
However, you can’t learn everything right from the start, as GNU Emacs is an operating system disguised as a text editor! 😊
But, I hope I helped!
Don’t forget to check the next topic (Useful links) and share this article!!!
Useful links
- https://www.gnu.org/software/emacs/refcards/pdf/refcard.pdf
- https://github.com/emacs-tw/awesome-emacs
- https://jblevins.org/projects/markdown-mode/
- https://github.com/mikajoh/.emacs.d/blob/master/setup.el
- https://melpa.org/#/
- https://cs.hamilton.edu/misc/EmacsCheatSheet_iupui.pdf
- https://ccrma.stanford.edu/guides/package/emacs/emacs.html
Comments